


Installation Process / Guide
EPS Smart Panels installation shall be carried out or supervised by someone who is experienced in installing insulated panels. We also have in house Engineers and Consultants who are well experienced and coordinate through the design phase to ensure that we provide the most optimal solution. So you SAVE TIME and SAVE MONEY!
The panels are suitable for a broad range of application options. Not all of these options are specifically covered with this installation guide. The following brief descriptions of these options and reference to the primary source of installation instructions for each option.
Step 1
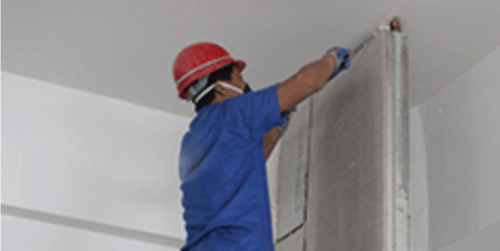
Marking lines for Smart Panel Installation
Marking lines for Smart Panel Installation
Mark lines for Smart Panel wall installation, windows and door openings.
Step 2
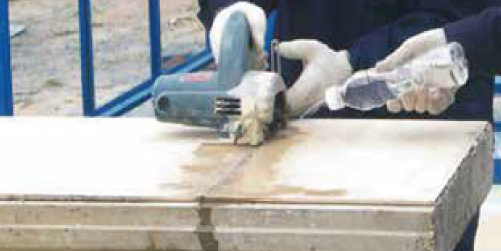
Making a cut to Smart Panel
Making a cut to Smart Panel
The standard size of a Smart Panel is 2440mm x 610mm x 100/150mm when wall height or width is smaller than a Smart Panel’s standard size, then cut the panel to the appropriate size.
Step 3
Applying cement / sealant on panel grooves
Applying cement mortar / sealant on panel grooves
Clean the dust on the tongue and groove of the ready to install panel before applying cement mortar or sealant on the panel grooves and installed edges.
Step 4
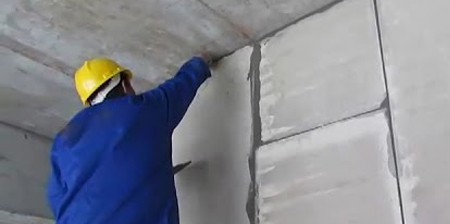
Check panel flatness and straightness.
Install & Check panel flatness and straightness.
Install the panel applied with cement mortar or sealant, use a crowbar to pry the panel up and down from the bottom, making the cement mortar or sealant tightly connect to the next panel, then use 2M level to check the panel flatness and straightness.
Step 5
Fixing Smart Panels
Fixing Smart Panels
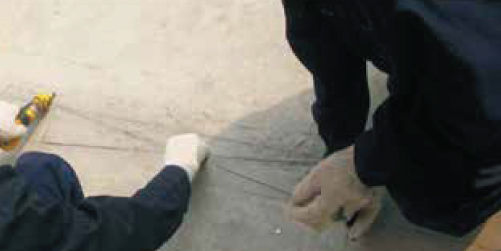
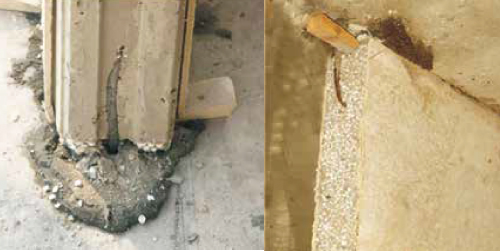
When Smart Panels are connected to the top or bottom of the floor slab, or the left panel is connected to the right panel, or the upper panel is connected to the lower, besides using cement mortar or sealant. ¢ 6 or ¢ 8 reinforcing bars are required for proper fixation of panels. For panels 125mm thick or above, two reinforcing bars are required.
Step 6
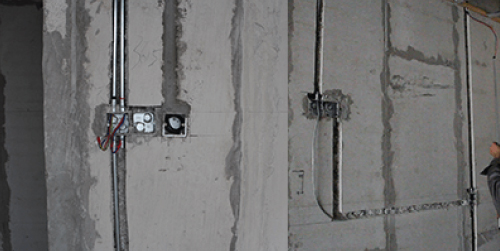
Services Embedded
Services Embedded
Smart Panels must be fixed for 03 days before services are embedded. Positions for services to be embeded need to be marked on both sides of the panel, the grooves need to be digged over 10mm (depth > 2/3 of panel thickness, and width < 400mm). The horizontal grooves should not exceed 350mm in width. After services are embedded, the grooves will be filled in by cement mortar or sealant.
Step 7
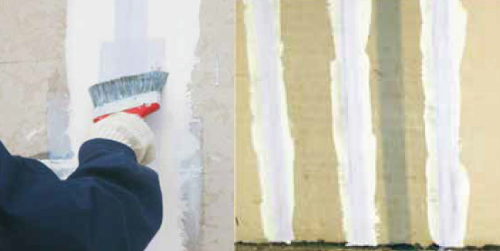
Joint Handling
Joint Handling
Panel joints cannot be handled until the doorframes and window frames have been installed and the services have been embedded for at least 07 days. Fiber meshes are used to avoid joint cracks.
Step 8
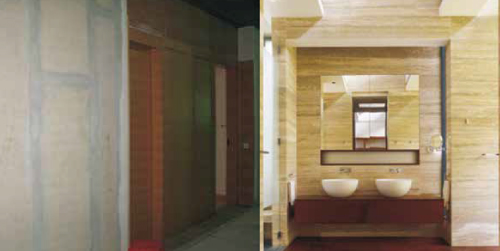
Decorative Finishing
Decorative Finishing
Tiles can be fixed directly to the panel surface with tile adhesive. Paint; acrylic and epoxy paint are recommended. Plastering is not required, direct paint application. Wall papers and wall cloth, both can be fixed on the panel by white latex adhesive or polythene. Marble can be fixed on Smart Panels by marble glue, silicon sealant or dry-hang system.